Recycled Onions Sprouting With Greentails

We love to use onions in most dishes we cook and we even use them in fresh salads, so there are always onions in the pantry, garage or refrigerator.

Onions Growing in the Garden with Greentails

Last Autumn we harvested onions from the garden. Once the onions were apparently dry the tops were cut back to a couple of inches in length and allowed to dry some more.

The onions were placed in cardboard boxes in layers. In between each layer a couple of sheets of newspaper prevented the onions from touching each other as much as possible. When they touch, that’s were a rot can start.

Some of the onions never did dry out and instead they rotted. As the cold months went on a few onions were disposed of that started to go to mush. Many others were eaten.

Make sure the boxes for storing onions have lids so the onions can be kept in the dark. Storing onions in the dark will prevent sprouting until early Spring. Layering the onions with newspaper might help to keep them in a hibernated state as long as possible.

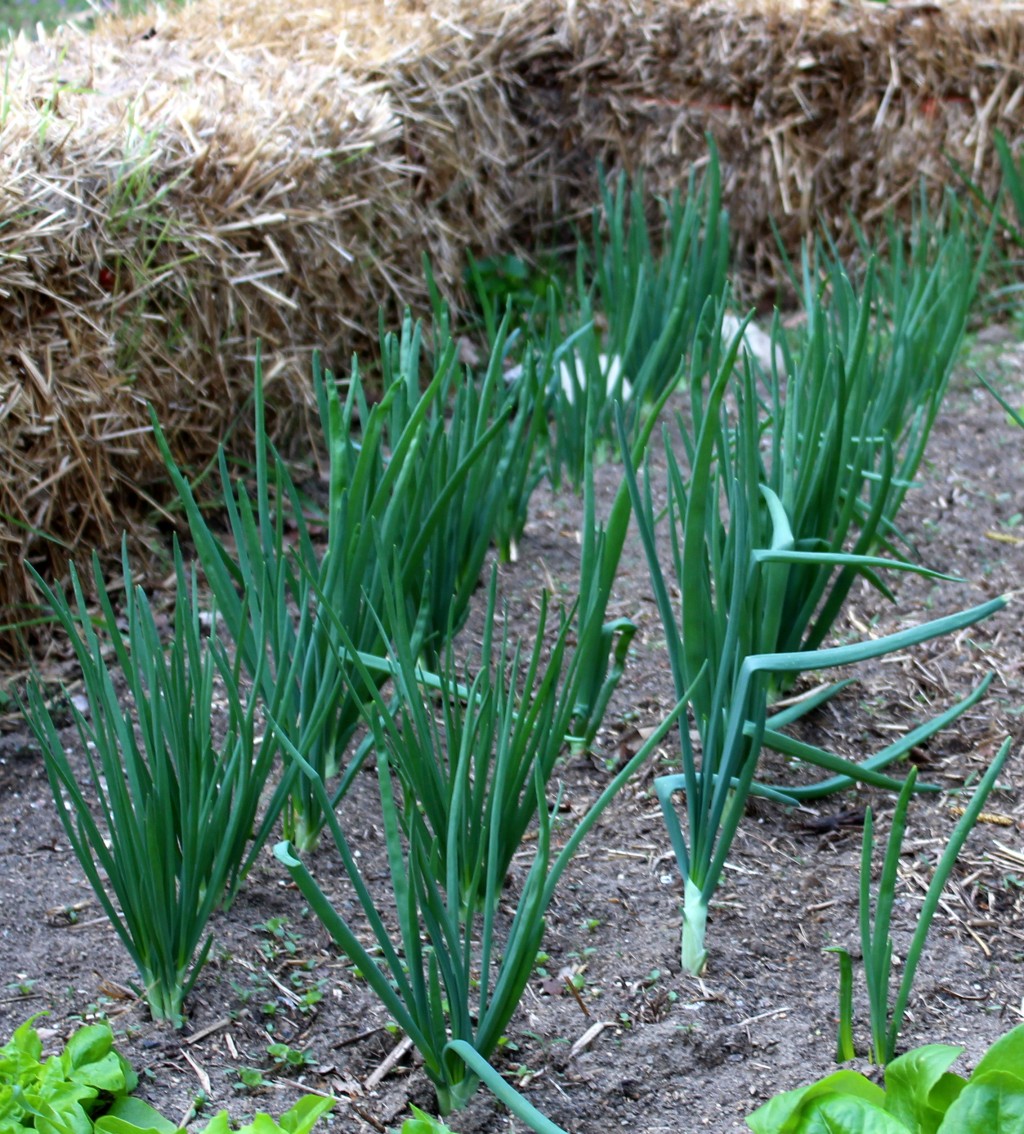
Once Spring did arrive the onions in the pantry started sprouting, so we planted them in the garden. See the photo above? The onions are really growing great. It feels like we’re recycling the onions in a way or maybe reusing them.

I like to snip off a green shoot or two and chop them up for salads or sandwiches.

When clipping off some greentails to eat, don’t take too many leaves from one plant because these long, green onion leaves will feed the plant and help to grow the onion bulbs that we could eat in a few months time.

Garlic Bulbs Cleaned for Storage

Harvested garlic bulbs were cut down to size and cleaned up for safe keeping.

A couple of weeks ago six varieties of garlic were harvested by digging them out of the ground, tops and all. Each variety was kept separate from the others with labeled pieces of newspaper.

Over a 10-day period after harvesting the tops had dried back considerably and almost all the greenery was now shades of brown. This meant it was time to cut back the tops and clean up the garlic bulbs.

A pair of scissors was used to cut the stems leaving 1-2 inches of a hard stem above the garlic bulb. Roots were pulled together and rubbed between fingers and thumb to remove most of the soil. That way, the roots were easy to cut off with the scissors.

Dirt on the outer membranes was rubbed off with a thumb being careful not to dislodge the membranes left on the garlic bulbs. We want to keep as many layers of membranes or sheath on the bulbs for the best storage. If too many layers of membranes are removed, the garlic cloves have a good chance of drying out during storage.

The harvest didn’t provide a great quantity of garlic for eating, but we do have some cloves to plant for next year and some for the kitchen. There are plenty of cloves for us to determine which is the best and most tasty garlic of the six varieties.

Garlic cleaned for the pantry will be kept in separate labeled boxes.

Garlic varieties will be kept in labeled, separate boxes. We used the kind of box or carton that berries and other veggies are sold in at a farmer’s stand.

These recycled paper boxes are nice for storage because they can be stacked even with garlic stored in them. They allow for air circulation from all sides. We’ll stack them 2-3 boxes high and place them on a shelf in the darkened pantry for safe keeping.