Old Radish Seeds Sprouting Like New

About a week ago I planted some old radish seeds in a couple of short rows in the garden. Happily, they all seem to be sprouting up!

Radish Seed Sprouts
Radish Seed Sprouts

The seeds were more than a couple of years old, so I was pleasantly surprised to see the sprouts emerge from the cold ground. The seed packets of radishes were at least 4-5 years old, maybe older.

Last year the original seed packets had gotten wet, so the remaining dry seeds were placed into new envelopes and labeled. Each envelope was labeled as to type and origin, but not the year they were packed for so I can’t say for certain how many years old the seeds were.

I figured it was early enough in the growing season to be able to plant some of these seeds — even though I thought they were too old — just to see what developed. If nothing much was sprouting, I would still have time to buy other radish seeds for the garden this Spring.

The fact that so many seeds germinated tells me that radish seeds can be kept more than three years.

I found this was not so with snow pea seeds. They are only good for about 2 years.

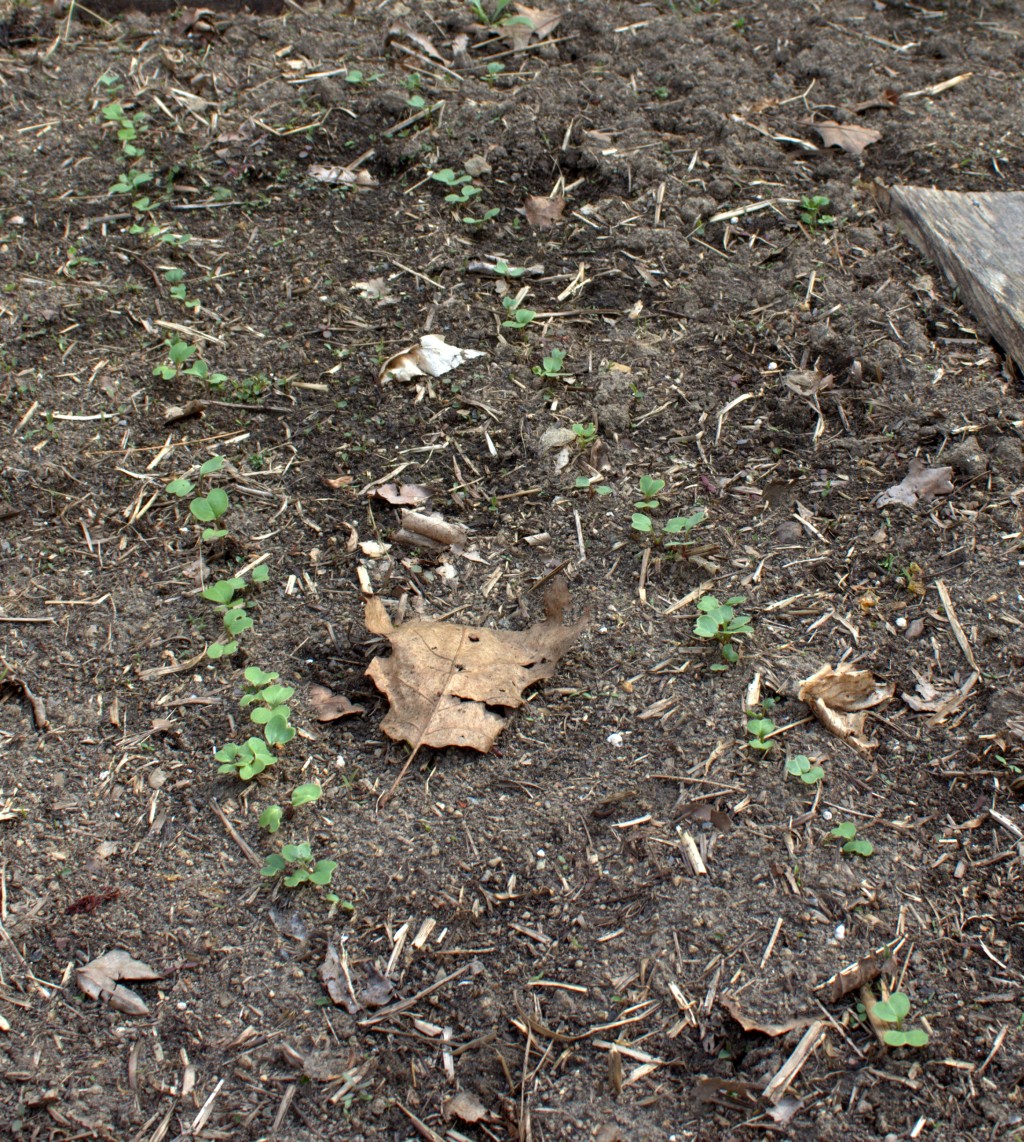
Two radish varieties were sown. The upper row in the photo below are red globe or cherry type of radish (Ferry Morse). The kind that develops into a cherry-sized bulb with a bright red outside. The “meat” inside is white.

Radish Sprouts in Rows

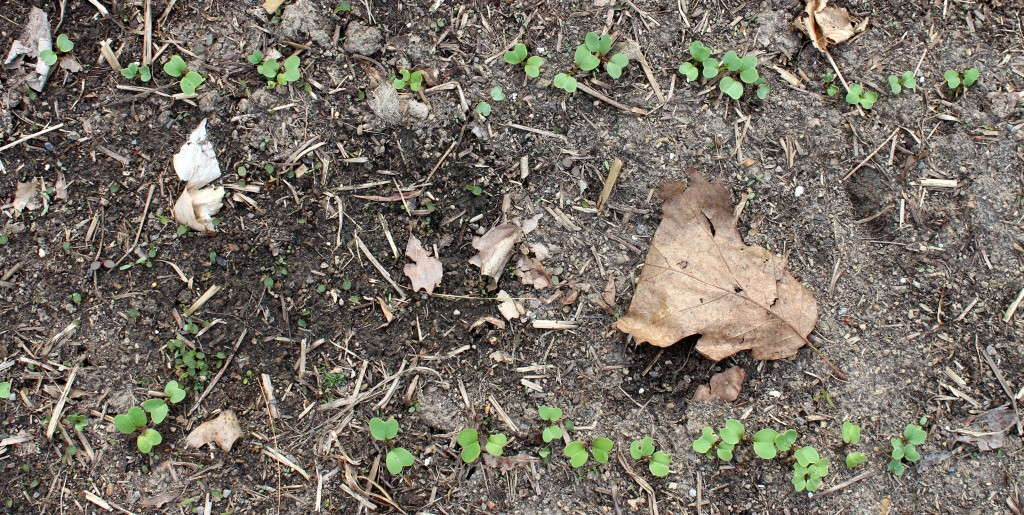
The radish sprouts in the lower row are an icicle variety. The bulb or radish shape is not round, but rather elongate, like a carrot. These sprouts will become white icicle radishes (John Scheeper’s).

The next thing to do for the radishes is to thin them out to about two inches apart. Then, some straw or mulch will be put down to keep them moist.

Transplant Baby Lettuce with Plenty to Share

A really cool thing about all this fresh baby lettuce is that there is plenty to share.

Baby Lettuce Plants Ready to Transplant

Last year I scooped up a shovel of these small plants and put them in a plastic bag to share with a friend. She happily reported back saying that she took the time to transplant each baby plant to its own spot in her garden and then let them grow out into beautiful heads of lettuce. She had so many heads and different kinds, too.

Transplanting lettuce seedlings or baby lettuce is easy. You just have to take your time with it.

When the soil is nice and fluffy it will be easier to separate and handle the small plants without damaging the new leaves and roots. If yours has a lot of clay, patience is the key to success here. Make a mental note to amend the soil with compost or peat moss.

Wait until the area in the vicinity of the garden has thawed before handling the baby lettuce. In Central Pennsylvania that might be a few weeks before the last frost date for spring.

  1. Pick out a few select plants and dig a hole for each one to grow in.
  2. Space 10 or 12 inches so they have plenty of room to develop.
  3. Water lightly.
  4. Cover the whole area where you’ve transplanted the lettuce with an old sheet or length of material.
  5. Check the nightly temperatures and keep the transplants covered if close to freezing.

Remember, if there is ANY chance you won’t be able to re-cover the baby lettuce plants at the end of the day, don’t uncover them. They can still get some sunlight and definitely some warmth by being under a sheet, even if the nights are freezing.

The main thing is to continue to protect the transplants until ALL danger of frost has passed. We’re looking at middle to late May when we’ll be able to forget about covering the lettuce for a few months.

We’ll have to get closer to that time period before we can judge the exact dates for this year, so until then keep covering the lettuce transplants.